Google Sites for Education
Google Sites for Education is an easy way to create a class website in minutes. Every staff member now has access to G Sites with their work email account. To set up your own class site you need to use the internet browser that is Google Chrome (make sure it is updated). You might find a class website helpful in addition to Class Dojo to help you deliver a richer Distance Learning experience for the children. It could be thought of as an online noticeboard. The link for the class websites below are all provided on the Class Story part of Class Dojo in that particular class.
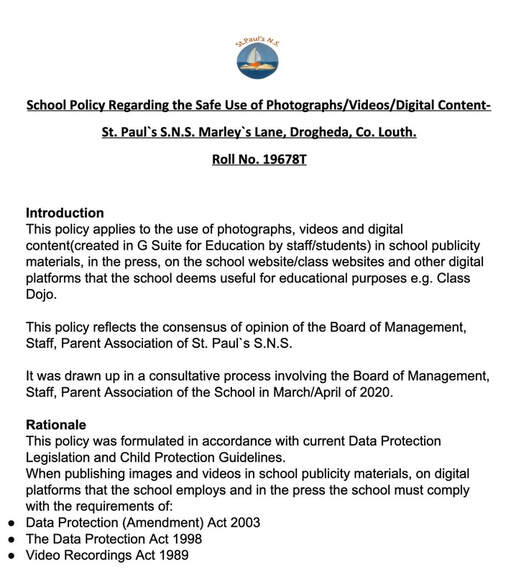
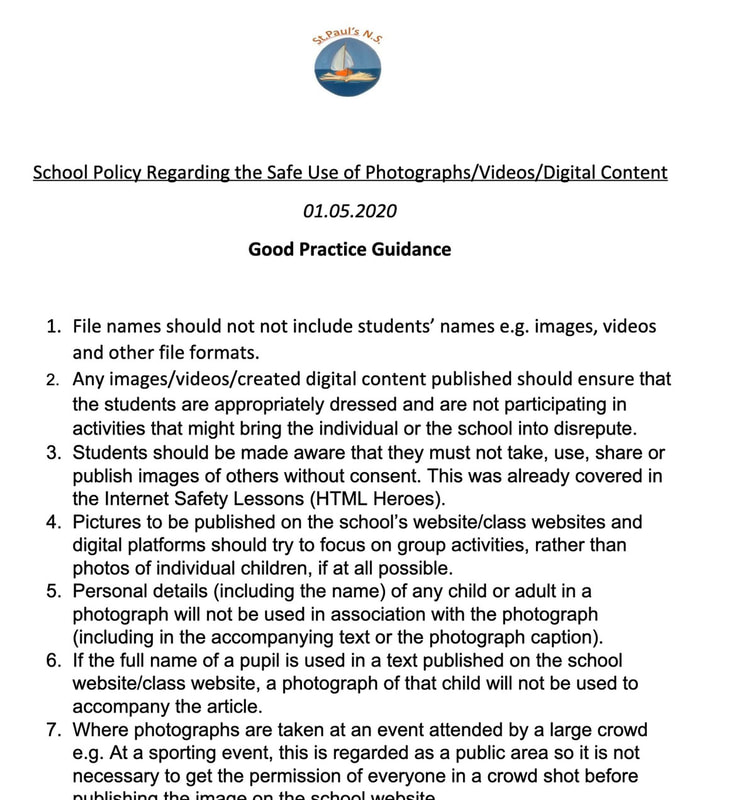
If you think you might be interested then read the steps to be carried out below. Finally, read the school policy on the safe use of photos etc and the guidance on good practice before creating your website.
If you think you might be interested then read the steps to be carried out below. Finally, read the school policy on the safe use of photos etc and the guidance on good practice before creating your website.
Steps to be carried out:
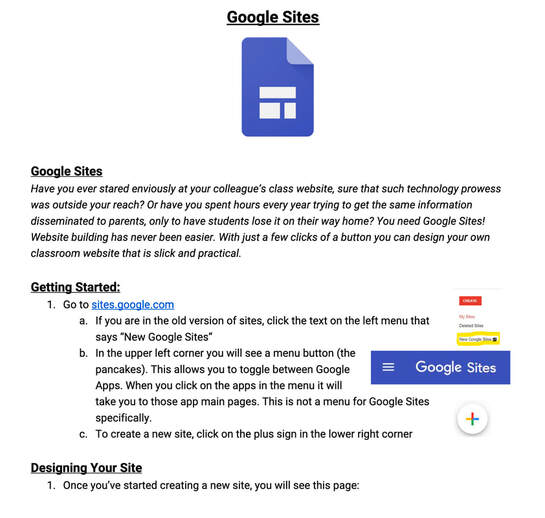
- Type "Google Sites" into Google search and G Sites will load up.
- Sign in with your work email and click the "Create" button.
- Select "in new sites (recommended)". Do NOT select "in classic Sites".
- Go make your class website with all the drag and drop elements. There are loads. Have fun. There are loads of theme options too.
- When you are finished click "Publish" for the first time. Then it is very important these steps are carried out:
- You will be asked to name your current class this year. You will be stuck with this for this school year so think about the name. All class/learning support websites will start with sites.google.com/stpaulssns.com/"whateveryourclassname" if you are trying to find them on the internet once they are published.
- Very important: before you click "Publish" again go to "Who can view my site" and click "Manage". Go to the second option and click the "Change..." button. Make sure you select "Anyone can view and find the published version". Click "Save" and then "Done".
- Then go to "Search settings" and tick the box that says "Request public search engines not to display my site". There is no need for your class website to be searchable to the whole wide web and it is better for health and safety if it is not.
- Finally click "Publish" for the second time.
- A pop-up will load up on the bottom saying "Your site has been published successfully". Click "view" here and your class website will load up.
- N.B.: You do not go back to Google Sites to add more content to your site or to edit it. After you have published your website for the first time then you will load up your website every time from your Google Drive. It is very important that you do that. To login to your G Drive just type Google Drive into Google and click the link. Then sign in with your work email address.
- You should create a single folder on your G Drive for your class website. Anything to do with the website should go in here or you are asking for trouble. Any file you embed on your website from a PDF of their book creator books or a Slides file or a Docs file or a PDF of a worksheet needs to have visible to the world turned on for that particular file to be seen on your website. To do this, select the file in your G Drive and right click it and select "Share". Then click the small "Advanced" in the bottom right and click the blue "Change..." text beside the "Who has access". Select the "On - Public on the web" option and click "Save". Make sure for all your files that you make visible to all on the web, make sure that the access is view only "Can view" and never "Can edit" or Can comment".
- Learning Support/Resource teachers could also make a website if they thought it would be useful for them.
- The policy 're use of photos etc has been updated by the school so you should familiarise yourself with that before publishing photos.
- Any questions just ask. Enjoy.
Safe use of photos/videos/digital content
|
Good Practice Guidance
| ||||||||||||
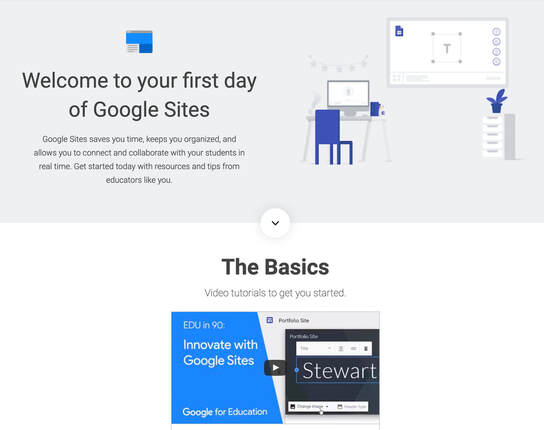
These documents will aid you in creating your class website.
More detailed tutorial videos:
|
|
|


